Table of Contents
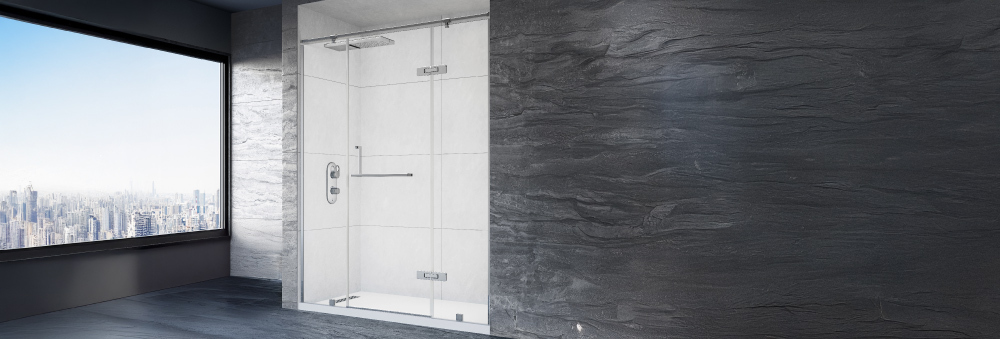
If you’re redesigning your bathroom or upgrading from a simple curtain setup, a glass shower enclosure installation is the perfect way to combine style and functionality. These setups, like a frameless shower enclosure or a sliding door shower box, not only make your bathroom look better, but they also keep water in, which makes cleaning much easier.
But the most common question homeowners have is, "How do you properly install a shower enclosure?" Don't worry; it's not as hard as it sounds. If you plan ahead, use the right tools, and follow the right steps, you can install a bath enclosure that fits perfectly in your space.
Shower Enclosure Installation: Step-by-Step Guide
1. Plan and Measure Carefully
Before you buy your enclosure, make sure to measure the space in your bathroom exactly. Choose whether you want to put it on a tiled floor or over a shower tray. Make sure your walls are straight and your floor can hold the shower column, doors, and enclosure frame.
2. Choose Your Enclosure Type
- Frameless shower enclosure: Gives a clean, modern look.
- Sliding door shower box: Sliding shower doors are a great choice for small bathrooms where swinging doors won't work.
- Corner bath enclosure: Frameless glass corner shower makes good use of small spaces.
- New shower cubicle installation: Great for giving your whole bathroom a new look.
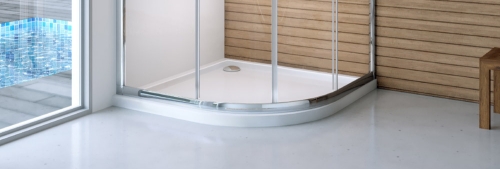
3. Install the Shower Tray
If your design includes a shower tray, install it first. Make sure it is levelled and tightly sealed so that it doesn't leak. The base of your enclosure is a tray that is well-installed.
4. Mark the Drill Points
Put the frame of the enclosure against the wall and mark where you want to drill. Use a spirit level to check that everything is straight all the time. This step is very important for a perfect installation of a shower glass partition.
5. Fix the Frame or Brackets
Drill into the wall, insert wall plugs, and fix the frame or brackets securely. If you’re going for a frameless shower enclosure, brackets or clips will hold the glass panels in place.
6. Install the Glass Panels
Carefully lift and fit the glass panels into the frame or clips. Glass is heavy, so it’s recommended to have someone assist you. After putting it together, tighten the screws and check that the glass is stable.
Put the glass panels into the right slots, making sure they line up perfectly. For a sliding door shower box, the rollers and tracks need to be fitted securely so the doors glide smoothly. At this stage, Jaquar stands out with its precision-engineered enclosures, designed to ensure seamless installation and long-term durability.
7. Fit the Doors
Carefully follow the manufacturer's instructions for installation, no matter what kind of door you have: sliding, bi-fold, or hinged. Make sure the rollers on a sliding door shower box are lined up so that it works easily.
8. Seal the Enclosure
Apply silicone sealant along the outside edges of the enclosure where it meets the wall and tray. Avoid sealing the inside edges; this allows water to drain properly and prevents leaks from being trapped inside.
Also Read: How Do Thermostatic Shower Valves Works?
Conclusion:
Knowing how to install a shower enclosure can make a world of difference in achieving a professional-looking bathroom upgrade. From selecting between a frameless shower enclosure or a sliding door shower box, to installing the shower tray and sealing it correctly, each step plays a key role in durability and performance.
Jaquar, known for its premium bath solutions, offer a wide variety of shower enclosures that combine durability with sleek design, making them a preferred choice for many homeowners. Jaquar UAE offers a comprehensive one-stop solution for shower enclosures, covering design, installation, and maintenance services. This ensures that every stage of the process, from selecting the right style to professional fitting and ongoing support, is expertly managed, allowing homeowners to enjoy both comfort and style with complete peace of mind.
FAQs:
Q1. Do you tile before installing shower doors?
A. Yes, tiling should be completed before installing shower doors. This ensures a neat, waterproof finish and allows the enclosure to be fixed securely onto the tiled surface.
Q2. Why do you not seal the inside of a shower enclosure?
A. Sealing the inside can trap water, leading to mould growth. That’s why sealant is only applied to the outside.
Q3. Do you seal the shower enclosure inside or outside?
A. Always seal on the outside of the enclosure. This prevents water from escaping while allowing proper drainage inside.
Q4. How long does it take to install shower glass?
A. On average, a glass shower enclosure installation takes 2–4 hours, depending on complexity. Frameless enclosures may take slightly longer due to precision requirements.
Q5. How long after shower glass is installed can you shower?
A. It’s best to wait at least 24 hours to let the sealant cure thoroughly before using the shower.
#Tags:
bath enclosure installation, new shower stall installation, how to install shower enclosure
Explore Our Bathroom Categories:


